Multi-Camera Video Editing In Premiere...
(A six-camera edit, plus more...)
David Ruether
The following refers to Premiere 5.1, but what I did here should be similar in other good editing programs
(although Sony Vegas Pro and Sony Media Studio HD Platinum 10 are particularly useful for multi-camera
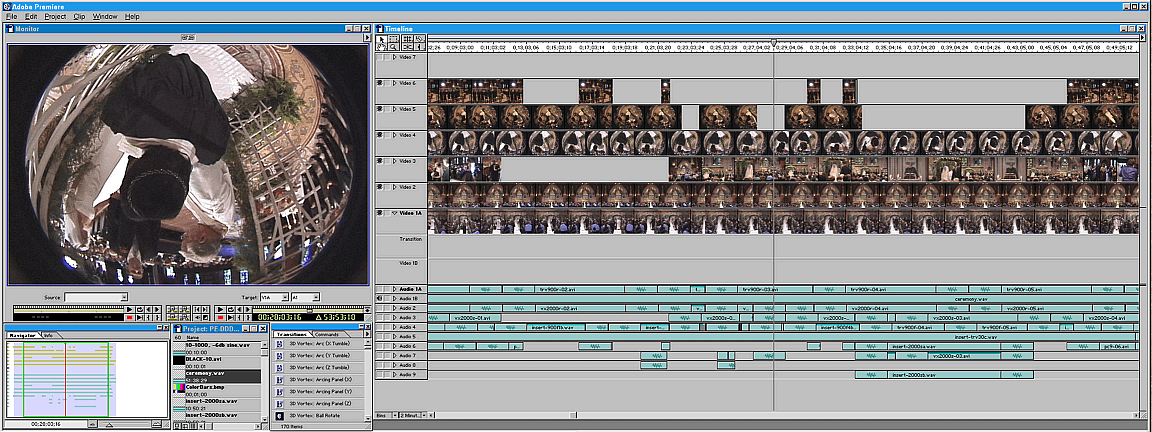
editing...).Below are screen-grabs of a dual-monitor layout of Premiere (at 2x1152x864 resolution), at several
stages of editing a six-camera project.The Project...
This wedding promised to be difficult to cover, due to the space, lighting, and the unusually large number of
participants. I decided to cover the ceremony with six cameras, instead of my usual four, to try to get good
views of everything and good sound from everywhere (including a string quartet and large organ in the rear,
a piano and singer and speaker front right, and the priest, rabbi, bride, and groom at the front center).
Only one camera was "attended", from a fixed position during the ceremony; the other five were placed as
unobtrusively as possible, aimed the best I could, and started just before the ceremony began. Even with
the best of plans, some cameras were blocked at times or not aimed ideally, and some audio tracks were
useless (a fan was running in front, the couple and the two officiators moved considerably forward of their
expected locations, and the guests unexpectedly stood for the first half of the ceremony). The camera used
for an important view (though not as important as it was supposed to be, due to changed positions...), gave
me trouble by not properly playing back its own LP-mode tape - the picture had glitches (mostly curable
with frame-substitutions, since there was little motion) and the sound had spurious noises (mostly curable
with multiple captures with cross-mixing and with local filtering of the sound) - and, yes, I had checked that
camera before the event... With all of the problems, though (Oh, did I mention it was like a steam-bath in
the chapel that day? Without the sweat-band I bought earlier in the day, I would not have been able to see
much of what I was doing...!), the resulting video looks and sounds good - with everything audible, and
with all but the lighting of the candles clearly visible. Not a bad outcome, if a bit of work getting there!Laying out and synchronizing the multiple video tracks, and editing the audio...

I first added all the multi-camera ceremony material to the timeline, synchronizing the tracks as I went. The
most important camera views went on video tracks 1 and 2, with successively less likely to be used material
placed on higher tracks. With this project, I did not capture (or have) video that spanned the entire project
length from all of the cameras, but a photographer with a rather strong flash (generally a "no-no" in a wedding ceremony...) made it easy to synchronize the various parts. To help keep things organized, I
renamed the various video tracks for the cameras used (see image below). Two of the cameras in this project (with fisheye converters on) were hung upside down to save space and to better place the on-camera
microphones in the tight quarters available (unfortunately, the "action" moved about 6' ahead of where I
thought it was going to be, introducing camera "aiming" problems and audio problems from the more distant
than intended mic positions [and from the large fan that remained running nearby - but one can work wonders
with Cool Edit noise-reduction and manual gain adjustments!]). Processed sound clips were added to the
audio tracks in spaces available, in synch. After noise-reduction, EQing, level-adjusts, and mixing (only
three of the six original audio tracks were used in this project), the audio was exported as a single file,
then imported and placed on an available audio track. Only this track remained "on" at this point, but the
remaining audio remained on the timeline to aid in resynchronizing the tracks if I moved any by mistake
during picture editing. I also generally cut vertically through all the tracks near the beginning and end of the
multi-camera section and moved the short ends away to clearly mark the beginning and end points of that
section. These points were selected to blend easily with the single-camera material that went before and
after the multi-camera section.Editing the picture...
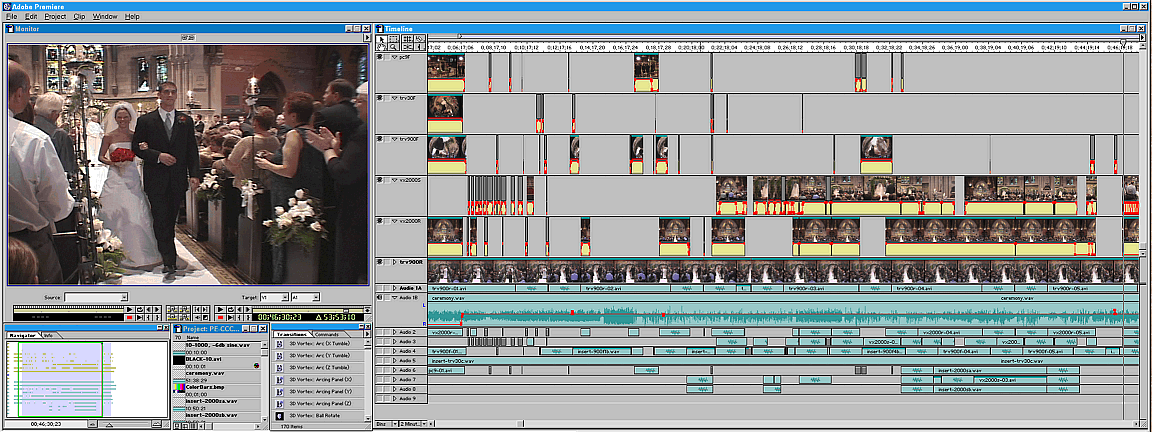
Minor gain adjustments were made to this final audio track mix, including the beginning and ending fades,
then the picture editing began. Tests were first made to establish the filtration for color and tone to best match
the appearance of all the tracks, and notes on these were made before removing the filters to speed the next
step (the filters were applied to the first clip in each track just before final rendering, with "paste custom"
being used to copy the filters to the other clips in a track). The picture editing was done by cutting each
track at the end of a clip wanted, and rolling the unwanted part to the right (while viewing the material in
the preview window) until useful material was again found in this track (that end would then be left until the
editing sequence caught up with it, at which time the decision was made to keep or remove this part of this
camera's track). The video on track 1 was left intact. The "cut-and-roll-back" method of viewing each track
has the advantage of combining viewing and edit decision-making in a way that does not disturb other parts
of the edit. For this project, mostly "S"-shaped dissolves were used for smooth transitions between clips,
using the track "rubber bands" to shape them. Sections of the edit were rendered to check for transition
smoothness, duration, timing, and rhythm. Corrections were then made, before moving on to the next section.
Occasionally the motion tool was used to smooth a pan (or correct a poor end point) or to reframe one of
the fisheye tracks where the groom's head was too near the top (see image below, which shows a framing
correction that remains outside the "TV-safe" viewing area, in addition to inverting the picture). Any
"picture-in-picture" or other effects were then added along with the filtration needed to match the
video tracks.Simplifying the audio on the timeline...
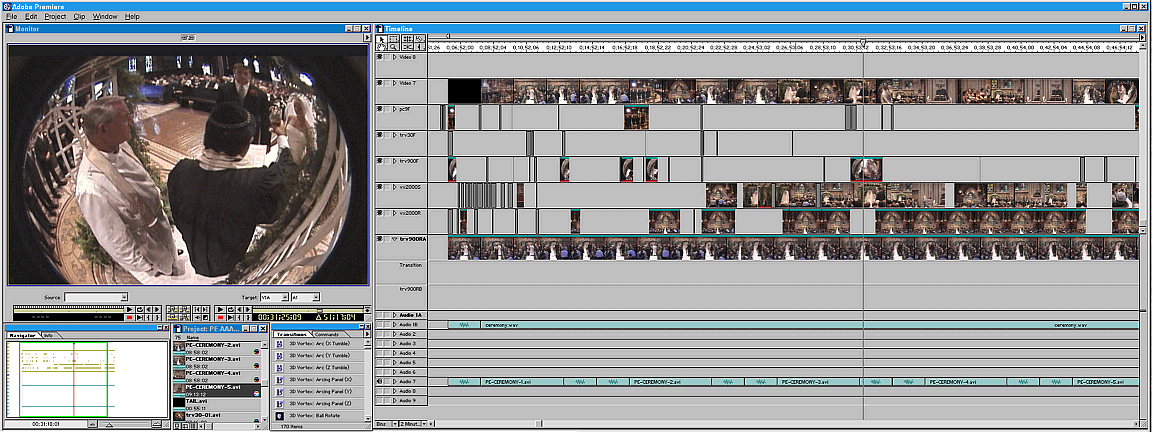
The unused audio tracks have been removed (though I generally retain both the original mix-down track,
and the subsequent copies that come along with the new picture files). After editing (including the placing of
the picture filters and local motion-adjusts, and the inverting of the fisheye images on two of the tracks [with
"motion", with coordinates 0, .5 and with 180-degree rotation, plus "reverse field order" in "field options" in
Premiere 6]), rendering of the whole project, making a "safety" tape copy, and exporting/importing video
files to replace the original material, it was time to also simplify the video tracks in preparation for adding
new material at the project ends.Simplifying the video on the timeline...
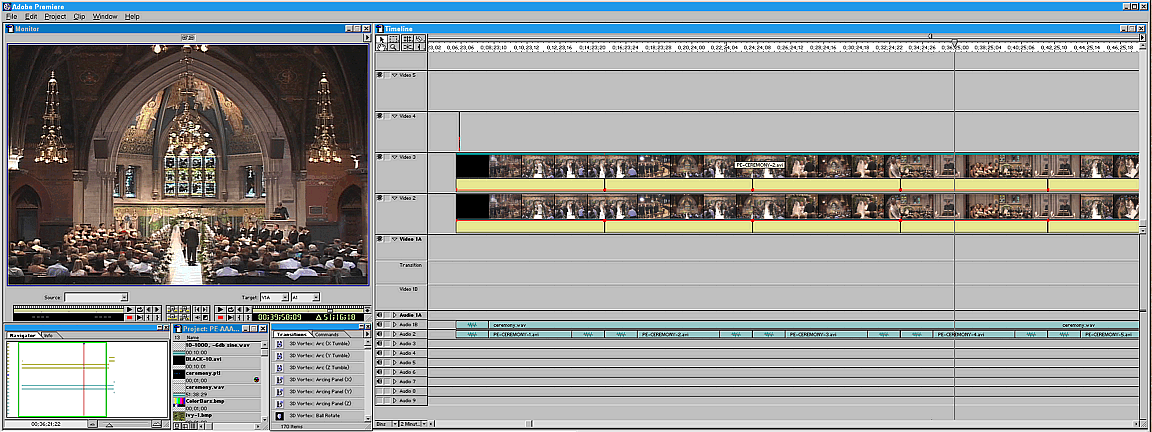
One of the two remaining audio tracks was silenced, but retained for safety. With this project, I waited until
after the basic edit (with included color and tone adjustments) was finished, and applied an 8% sharpening
to the whole multi-camera section. At this point I would also add a "global" color correction to this section,
if needed. This was also the time to make all remaining minor corrections to the editing that were missed in
the last step. In this project I added close-ups (synchronized in the appropriate places) of the singer, pianist,
and quartet (shot during practice before the ceremony - see timeline image below, which shows the
additions to the ceremony).Adding the remaining material in the first half...
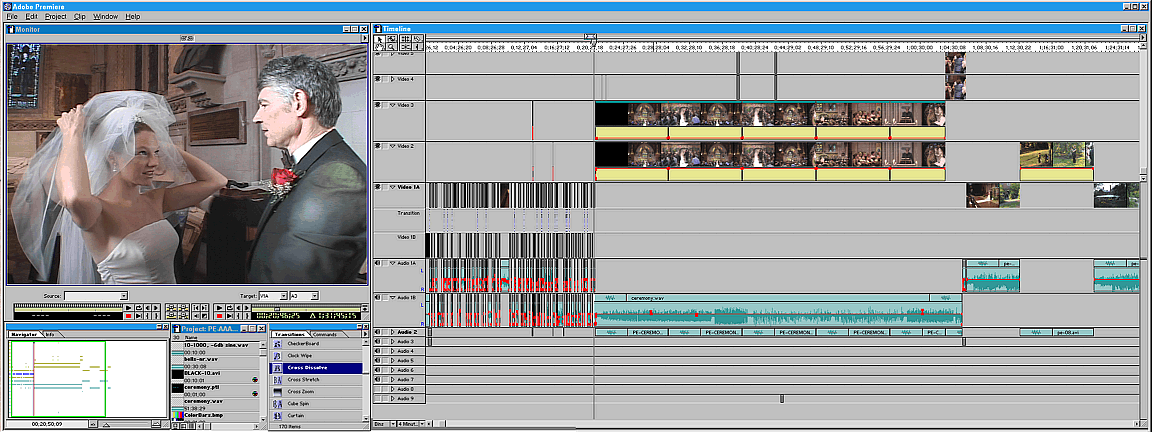
All the single-camera material was added that went before and after the multi-camera section of this
project (in the image above, the material preceding the ceremony has been edited; the material following
the ceremony is unedited), except for the reception footage, which was edited in another project (see last
screen-grab, below). I also renamed the tracks, removing the camera names.Editing the remaining material in the first half...
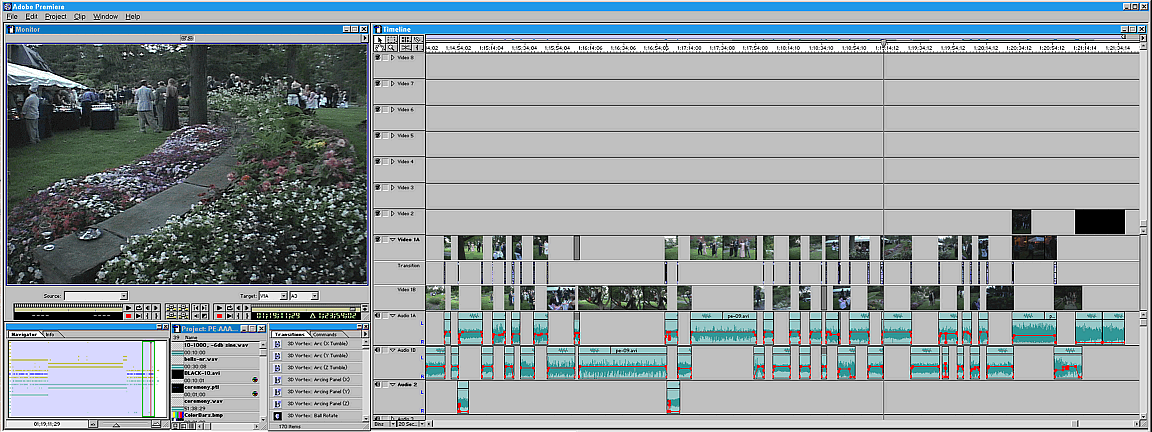
Some of the editing near the end of the first half of this project is shown above (the garden party, that
continued until dark...). The total length of my wedding videos is usually about 2.5 hours, which includes
the rehearsal, pre-ceremony activities, the ceremony, post-ceremony activities, the group-photo shooting,
the garden party (in this wedding), and the reception, with all its many parts (the record for the toasts
during a video, BTW, is 42 minutes!!!). This video was about 2 hours and forty minutes in total length,
and I do point out to clients the usefulness of the fast-forward button on the playback device remote while
viewing... (most clients prefer to have a good record of all the wedding events of the day, discouraging
"excerpting" on my part during the ceremony and toasts).Editing the reception...
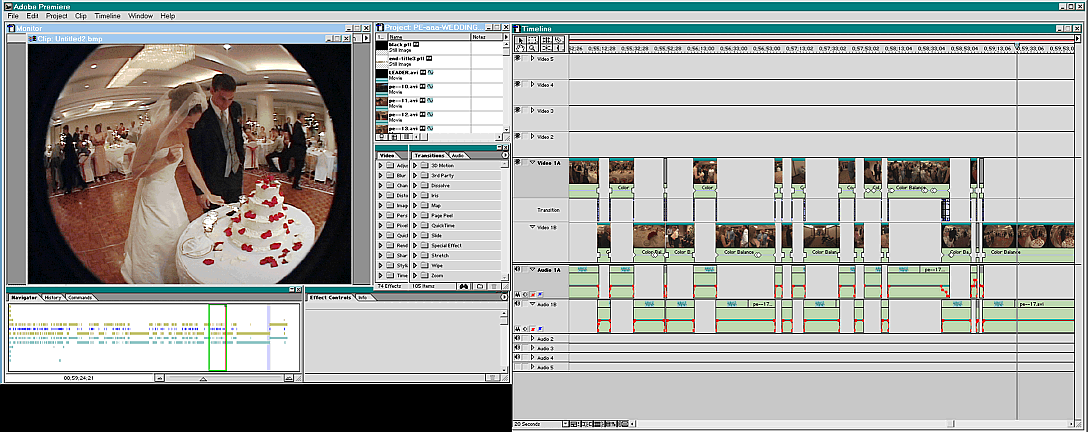
The second half of the video (the reception) was edited on another computer, with the layout on a 17" and
a 19" monitor shown above. I now prefer using a single 24" LCD monitor at 1920x1200 resolution with the
various editing programs I've edited with, for both SD and HD (for screen grabs of these, go here, and for
more on HD editing, see my "Comments On Some HDV (And AVCHD) HD Editing Software"). Almost the
entire reception was shot under dimmed tungsten lighting and candles, and needed color-correcting (often
key-framed to compensate for different light balances around the main room). Each of these two 1:20 sections
was mastered to one Mini-DV SP-mode 80-minute tape, one Mini-DV LP-mode 60-minute tape, and one
D8 SP-mode 90-minute tape for preservation, and the two halves were assembled on the VHS SP-mode
2:40 tape copies supplied to the client. Each half can also be supplied on a DVD or Hi-8/Mini-DV/D8 tape,
if the client prefers...
David Ruether
Video Index Articles Index David Ruether Photography Site Map